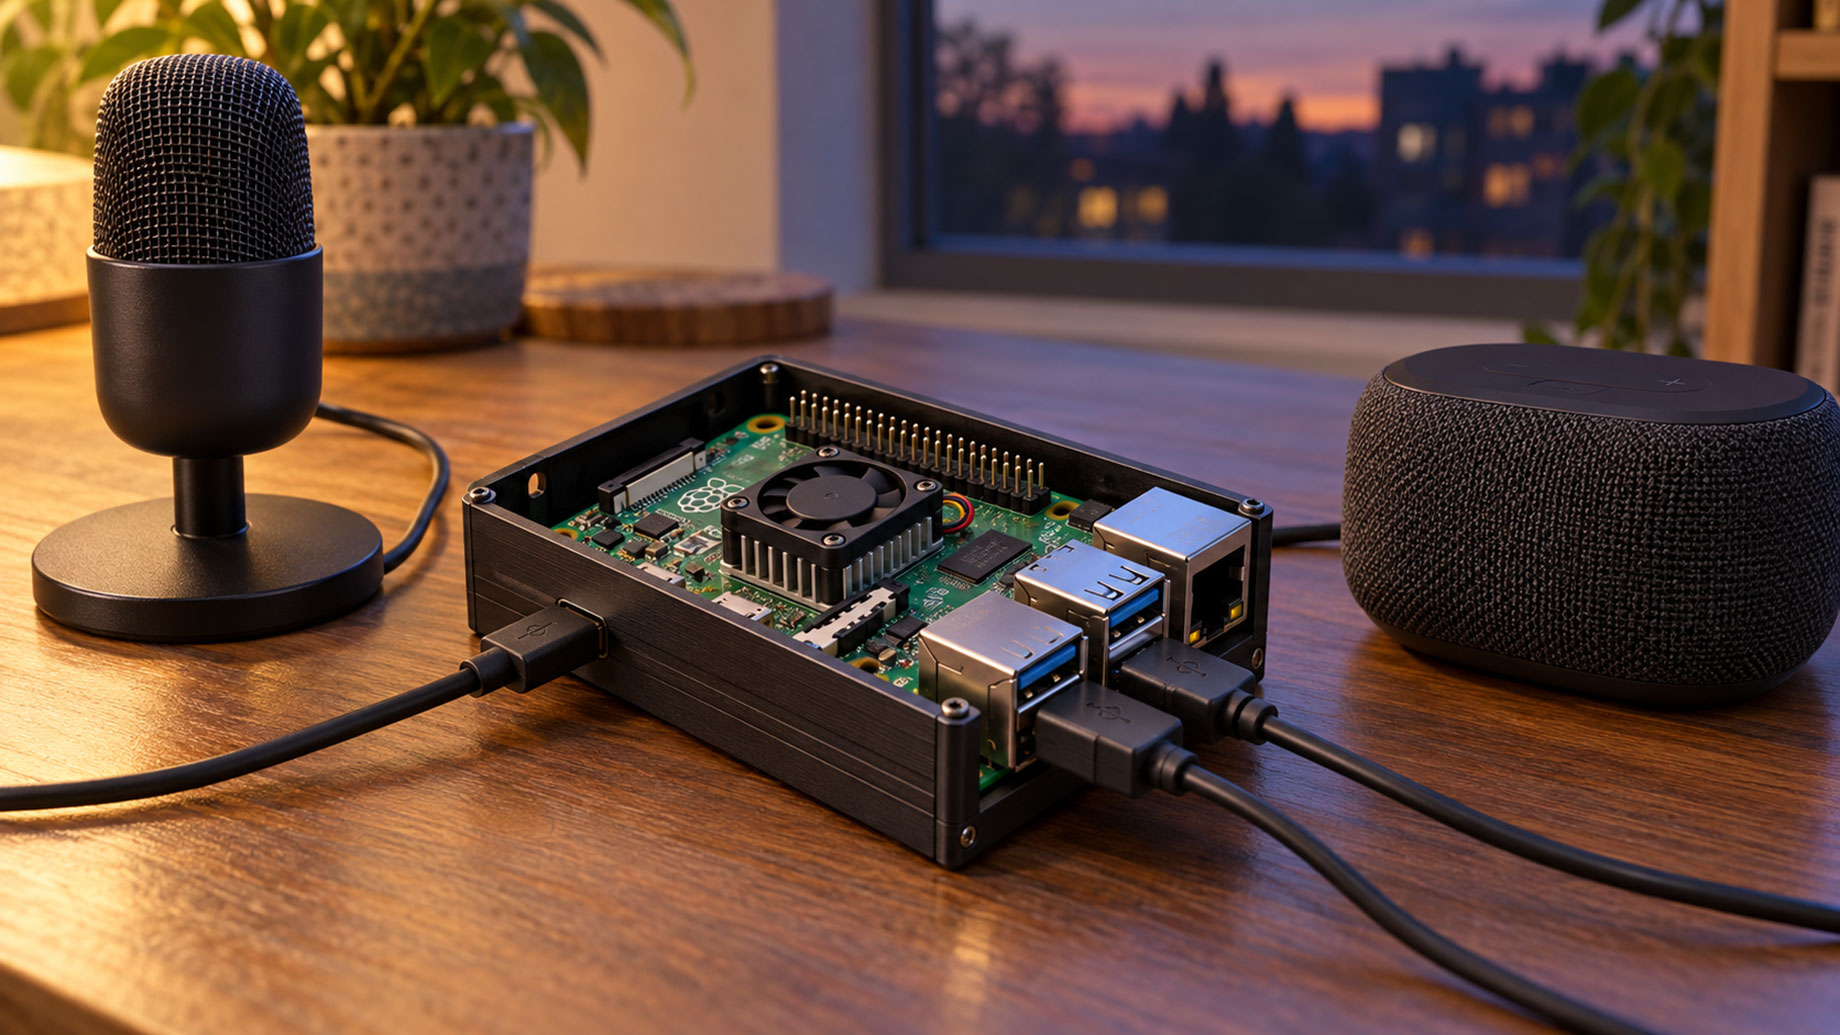
For a private Raspberry Pi voice assistant, Piper TTS is the strongest starting point: its lightweight neural voices run locally on CPU, so you can generate speech without a GPU or internet connection. Among the best AI voice synthesis tools for Raspberry Pi Developers, Piper TTS is the best fit for most offline Pi projects because it produces speech locally on modest hardware.
Your choice shapes more than the sound of your assistant. It affects reply time, memory use, and whether spoken text leaves your device.
Which TTS Engines Work Best on Raspberry Pi?
Piper TTS is a practical first choice for local text-to-speech (TTS) on a Raspberry Pi, while KittenTTS, Mimic3, and Amazon Polly give you other options for voice style and deployment. Your hardware and connection determine which trade-offs feel acceptable.
| Option | Runtime | Offline use | Pi fit | Voice range |
|---|---|---|---|---|
| Piper TTS | Local | Yes | Lightweight CPU use | Multiple voices and languages |
| KittenTTS | Local | Yes | Compact models suit Pi 5 | English-focused |
| Mimic3 | Local | Yes | Check model needs on your Pi | Multiple voices |
| Amazon Polly | Cloud API | No | Pi sends text over network | Multiple languages and voices |
Piper TTS for Lightweight Offline Speech
Piper TTS suits an offline voice assistant that needs clear speech with modest hardware demands. You download a voice model, run synthesis on the Pi, and send the generated audio to your speaker. That keeps each spoken reply on your device.
Choose a model that matches your language and voice preference, then check its license before shipping it in a product. The voice model and the engine can have separate terms. For a Pi 4 or a Pi 5, start with a smaller model and test playback while your other services are running.
KittenTTS for Compact Neural Voices
KittenTTS gives you a compact neural option for English speech on a Raspberry Pi 5. It works locally, so you can avoid network calls for synthesis and keep text on the device. That makes it worth considering when voice character is a priority and your project can spare memory and CPU time.
Check the model’s language coverage and runtime requirements before you build around it. A compact TTS model does not mean every other part of your voice AI stack will also fit comfortably on the Pi.
Mimic3 and Amazon Polly for Alternative Voice Options
Mimic3 gives you another local engine to assess when you want offline speech and a choice of voices. Test its install path and selected model on your exact Raspberry Pi OS setup, since compatibility and resource use depend on the build.
Amazon Polly is a cloud text-to-speech service. Your Pi sends text to the service and plays the returned audio, which gives you access to hosted voices while adding network dependence, service configuration, and usage costs. It can suit a connected kiosk or prototype where cloud synthesis fits your design.
What Should You Compare Before Choosing a TTS Engine?
Compare voice and language support alongside model size, latency, memory use, licensing, and network needs. A single-board computer has limited room for competing workloads, so your TTS choice should fit the full application.
Voice Quality, Languages, and Model Size
Listen to the voices you plan to use with your own sample text. Names, numbers, abbreviations, and short commands can sound different from a polished demo sentence. Confirm that the engine supports your target language and accent before you design around a particular voice.
Model size affects storage and runtime load. On a Raspberry Pi 5, you have more room for local speech tools than on many earlier Pi boards, yet a speech recognizer and local language model also need resources. Start with a small voice model, then check how it performs alongside the rest of your software.
Latency, Memory Use, and Licensing
Measure the delay from the end of your generated text to audible speech on your target hardware. For an interactive assistant, long pauses make the full system feel slow, even when TTS itself starts quickly. Short replies and streaming output can help reduce perceived delay.
Check memory use while your actual application is running. Leave room for audio capture, speech recognition, and the operating system. Before distributing a device, review the engine and voice-model licenses for your intended use, including commercial deployment.
Offline Operation Versus Cloud Synthesis
Local synthesis keeps text on the Pi and continues to work without an internet connection. It also makes your device responsible for model storage and inference.
Cloud synthesis moves processing to a service and requires connectivity. You gain a hosted voice catalog, while your design must account for network delay, API setup, and service charges. Choose based on your privacy needs and the network conditions where you will install the device.
How Does TTS Fit Into an Offline Voice AI Pipeline?
TTS turns the assistant’s generated reply into audio; speech recognition and a local language model handle the steps before it. You can build the pipeline from separate parts, then tune each stage to the limits of your Pi.
Speech Recognition with Vosk or Whisper
Speech-to-text converts microphone audio into words that your assistant can process. Vosk supports offline speech recognition and can suit command-focused projects with constrained hardware. Whisper offers a different model family with multiple size options.
Your choice affects transcription quality, processing time, and memory use. Test with the room noise and speaking distance your device will face, then pass the recognized text to your assistant logic.
Whisper Tiny, Whisper Small, and faster-whisper
Whisper Tiny uses fewer resources than Whisper Small, with a corresponding trade-off in recognition quality. On a Pi, start with Tiny when you need a lighter workload; try Small when your hardware has room and your transcripts need the extra capacity.
faster-whisper runs Whisper models through CTranslate2. Check that its runtime supports your Pi’s operating system and processor architecture before committing to it. Compare complete request time, including audio capture and transcription, instead of judging the model by its name.
Generating Replies with Ollama and a Local LLM
Ollama gives you a way to run a local language model and provide responses without sending prompts to a hosted service. The model handles llm inference after transcription, then your TTS engine speaks the resulting text.
A local language model can place a heavy load on a Pi. Use a model that fits your board’s memory, keep replies concise, and check the full pipeline under load. If the Pi struggles with both transcription and response generation, split those tasks across devices or use a cloud service for the stage your privacy plan allows.
How Do You Integrate Speech Synthesis Into DIY Projects?
Set up stable audio input and output first, then connect recognition, wake word detection, and TTS as separate steps. This makes it easier to trace delays and audio faults on Raspberry Pi OS.
Set Up Audio Input and Output on Raspberry Pi OS
Connect your speaker or audio adapter and confirm that Raspberry Pi OS selects the intended output device. Play a short test clip before adding speech generation. Keep the microphone and speaker levels clear, and avoid placing them close together if playback leaks into your microphone.
Check that your chosen TTS engine can write audio in a format your playback tool accepts. If synthesis produces a WAV file, verify its sample rate and channel count before playing it. These basic checks prevent format mismatches from looking like model problems.
Connect a USB Microphone with PyAudio
A USB microphone gives you a straightforward input device for a Python project. Install PyAudio through your system package manager when available, then list the recording devices and select the microphone by its device index or name.
Record a short sample and play it back to check level and clarity. Set a suitable sample rate and buffer size for your microphone, and handle audio errors so a temporary device disconnect does not stop your assistant.
Add Wake Word Detection with openWakeWord
openWakeWord can listen for a wake phrase before you start transcription. Run wake word detection against short audio frames, then begin recording the user’s request after a match. This limits unnecessary recognition work while the device waits.
Keep the audio capture loop responsive and test detection with your speaker volume, room noise, and microphone position. A wake word model adds CPU work, so watch resource use when it runs beside your TTS and speech recognition processes.
Deploy Across Linux Desktop and Docker Setups
Test your Python audio code on the target Linux desktop before moving it into a container. Linux audio device names and permissions can vary across machines, so make device selection configurable instead of hard-coding one index.
For Docker, pass the required audio device into the container and grant the process access to it. Keep model files in a persistent location so a container restart does not require another download. Check the image’s processor architecture and runtime dependencies before deploying to a Pi.
Choose a Voice Engine That Fits Your Pi Project
Choose Piper TTS for a lightweight offline voice assistant, KittenTTS for compact neural speech on a Pi 5, or Amazon Polly when cloud synthesis fits your connectivity and privacy needs. Your final choice should work alongside the microphone, speech recognition, and language model your device must run.
Start by testing a representative sentence on your target Raspberry Pi. Check the voice, startup delay, memory use, and behavior while the rest of your application is active. Then confirm the model license and deployment requirements before you settle on an engine.